[You] Oh! Dear! I think that the possibilities of an embedded OS are amazing … but I’m so stupid! I dominate only 0.001% of this monster!.
[Me] Don’t worry! I dominate 0.005% of this monster. How much is your level with your desktop OS? And more important, how open is it?. Please, open your mind!
World is plenty of crapware. Today I will show you that you can create also your own “crapdevice”.
Rationale
This session is focused to show how to configure your embedded system for running your application.
This implies knowing some basics about the booting process and how to deploy your application.
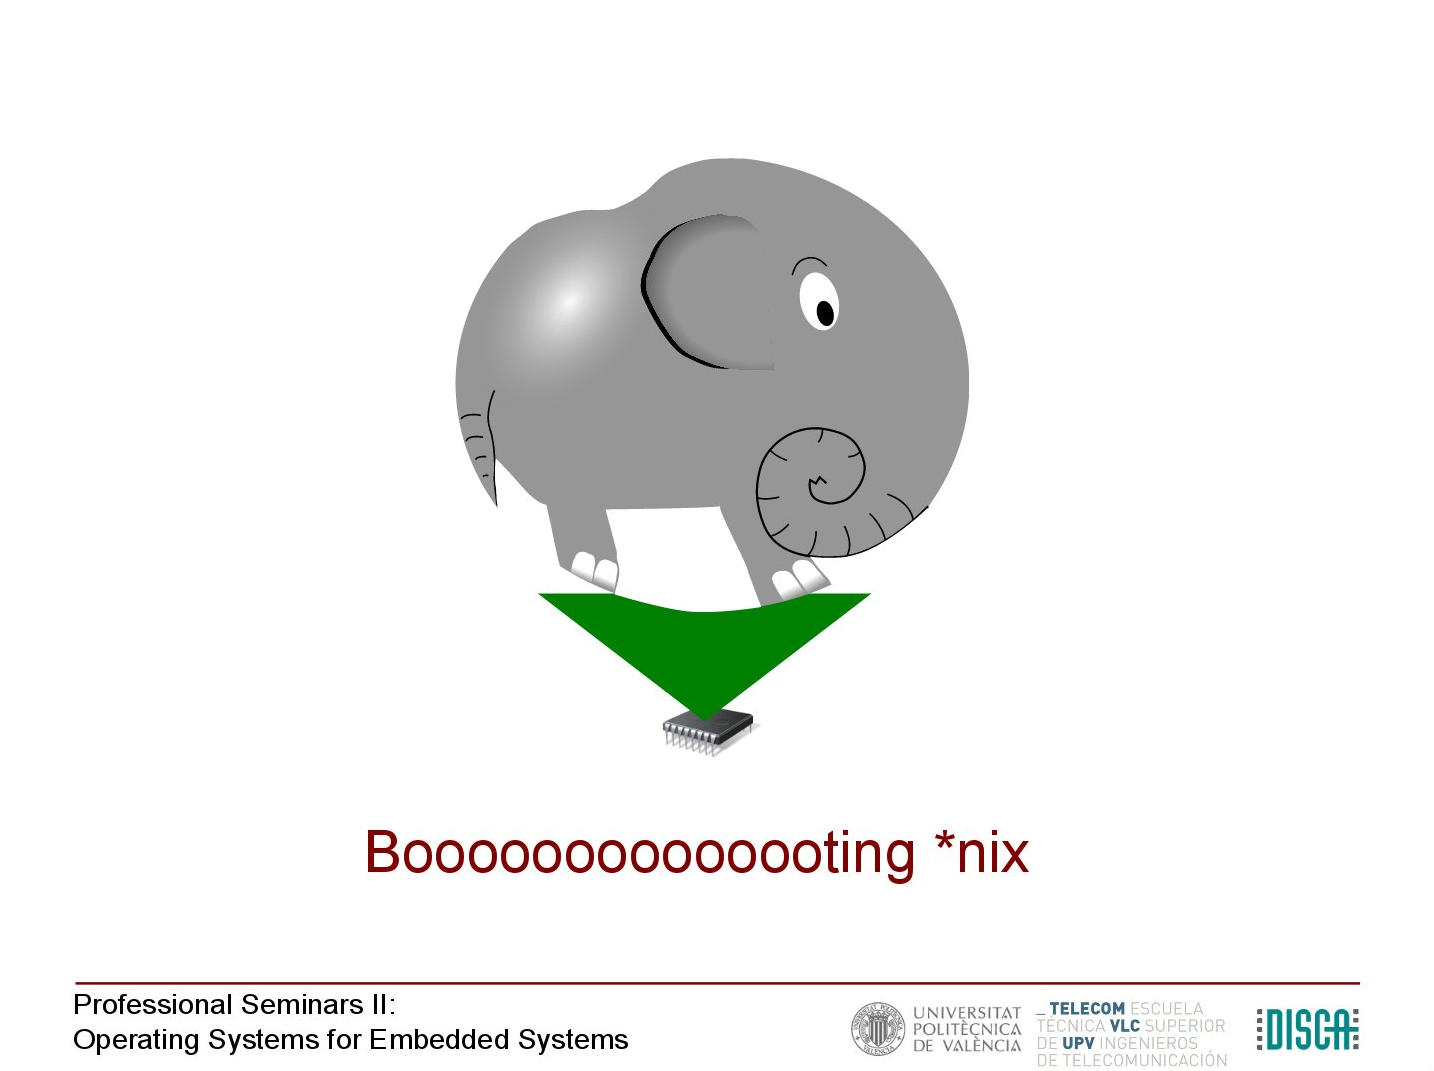
Boot sequence
When you power up your embedded device, an initialisation procedure starts in order to start a given configured operating system. Lets discuss this sequence in the following slides:
Remember that this procedure happens in your smart-phone, your TV, your router, your car, your …
Preparing things
First, I recommend to reconfigure Rasbian to avoid autologin and graphic GUI. Go to “Menú -> Preferences -> Raspberry Pi configuration” and provide the following configuration.

Accept the changes and reboot the board to check the effect.
Remember, user: pi, password: power .
Use command startx to start the graphical system. Test it, please.
Start to my app
The idea
Taking into consideration that we are noobs, the easiest option is to add users to your Linux box and associating a given application to that user.
Start to a text based app
$ sudo apt install calcurse
Test the app in a terminal.
$ calcurse
Find where it is installed:
$ which calcurse
/usr/bin/calcurse
Well, it is time for creating new user account. Open now a terminal and run
$ sudo adduser --shell /usr/bin/calcurse agenda
NOTE: it will ask you to provide a password for user “agenda”
Logout and login with this user. Questions?
Of course, you can “autologin” to this user, but it is your problem.
Start to a GUI based app
WELL, I recommend to create another new user for to do all these things
$ sudo adduser juanito
Login in the new user.
Add permissions for accessing audio and video.
sudo usermod -a -G video juanito
sudo usermod -a -G audio juanito
And run startx.
Lets first decide an interesting “crap” system. I propose a “digital signage” system.
Open a terminal an write
$ chromium-browser -app=http://aperles.blogs.upv.es/oses
Nice. Let’s do things better
$sudo apt install xdotool
Problems? Don’t ask me. It is your problem.
Create an script with name my_kiosc in the juanito’s home directory. Use the following listing,
#!/bin/sh
chromium-browser --start-maximized -app=http://aperles.blogs.upv.es/oses &
sleep 8
xdotool key F11
Make the scrip executable
$chmod 700 ./my_kiosc
Test it
$ ./my_kiosc
Well, the easiest approach to automate the start of your brilliant GUI application is to modify the init script of the GUI desktop app to launch your application.
For example, Raspbian uses LXDE GUI Desktop. You can take a look to the file ~/.config/lxsession/LXDE-pi/autostart and add your app at the end of the list.
Edit ~/.config/lxsession/LXDE-pi/autostart
$ mousepad ~/.config/lxsession/LXDE-pi/autostart
and add a command at the end of the file
@/home/juanito/my_kiosc
Reboot and test if it works … tachaaannnn!!!!
(Next example failed a lot of years ago. I maintain it for reference.)
DEMO PARA REPRODUCIR UN VIDEO QUE NO FUNCIONA BIEN
For example, let’s create a media player for “La tienda en casa”.
Install a youtube downloader app
$ sudo apt-get install youtube-dl
Download some interesting video.
$ mkdir la_tienda
$ cd la_tienda
$ youtube-dl [url of the video here]
$ ls -l
Now, you need the video player, for example mplayer (vlc va lento, pero quizá funcione)
$ sudo apt-get install mplayer
Test that the video can be played as you want, i.e.
$ mplayer -fs --loop=0 "CheapDAQ quadrature input test-Wf5bg0-S9xc.mp4"
If all is OK, edit ~/.config/lxsession/LXDE(username)/autostart and add the previous command at the end of the file
$ leafpad ~/.config/lxsession/LXDE(username)/autostart
and add
@mplayer -fs --loop=0 "/home/pi/la_tienda/CheapDAQ quadrature input test-Wf5bg0-S9xc.mp4"
Splash screen
When you boot your Raspberry Pi board, you get a lot of information lines. This is not cool for your “crapdevice”. Your Android device is based on Linux and does not show that, the reason is that it uses an “splash screen”.
Try to finish your thing adding an splash. Follow this tutorial
Do not use nano, use leafpad and copy the file to the appropriate path.
Use this splash file.
Lots of simplifications
Well, you get something working, but I excluded a lot of information. If you need serious things, please search for more information. For example,
- .profile and .bash_rc
- rc.d
- etc.